Easy DIY method for framing art on paper
As a former textile artist, I love the textural quality of heavy watercolor paper. It’s one of my favorite surfaces to paint on. One of the other things I like about art on paper is that it’s super easy to frame on your own without having to spend a fortune at the framer’s.
Once you learn this easy method, you can have fun collecting paper art and framing it creatively. All you need is just a few simple supplies.
Note: this post contains affiliate links. If you purchase through these links, I may earn a commission at no extra cost to you. That said, I’ve only linked to supplies that I use and trust.
So, to get started you need:
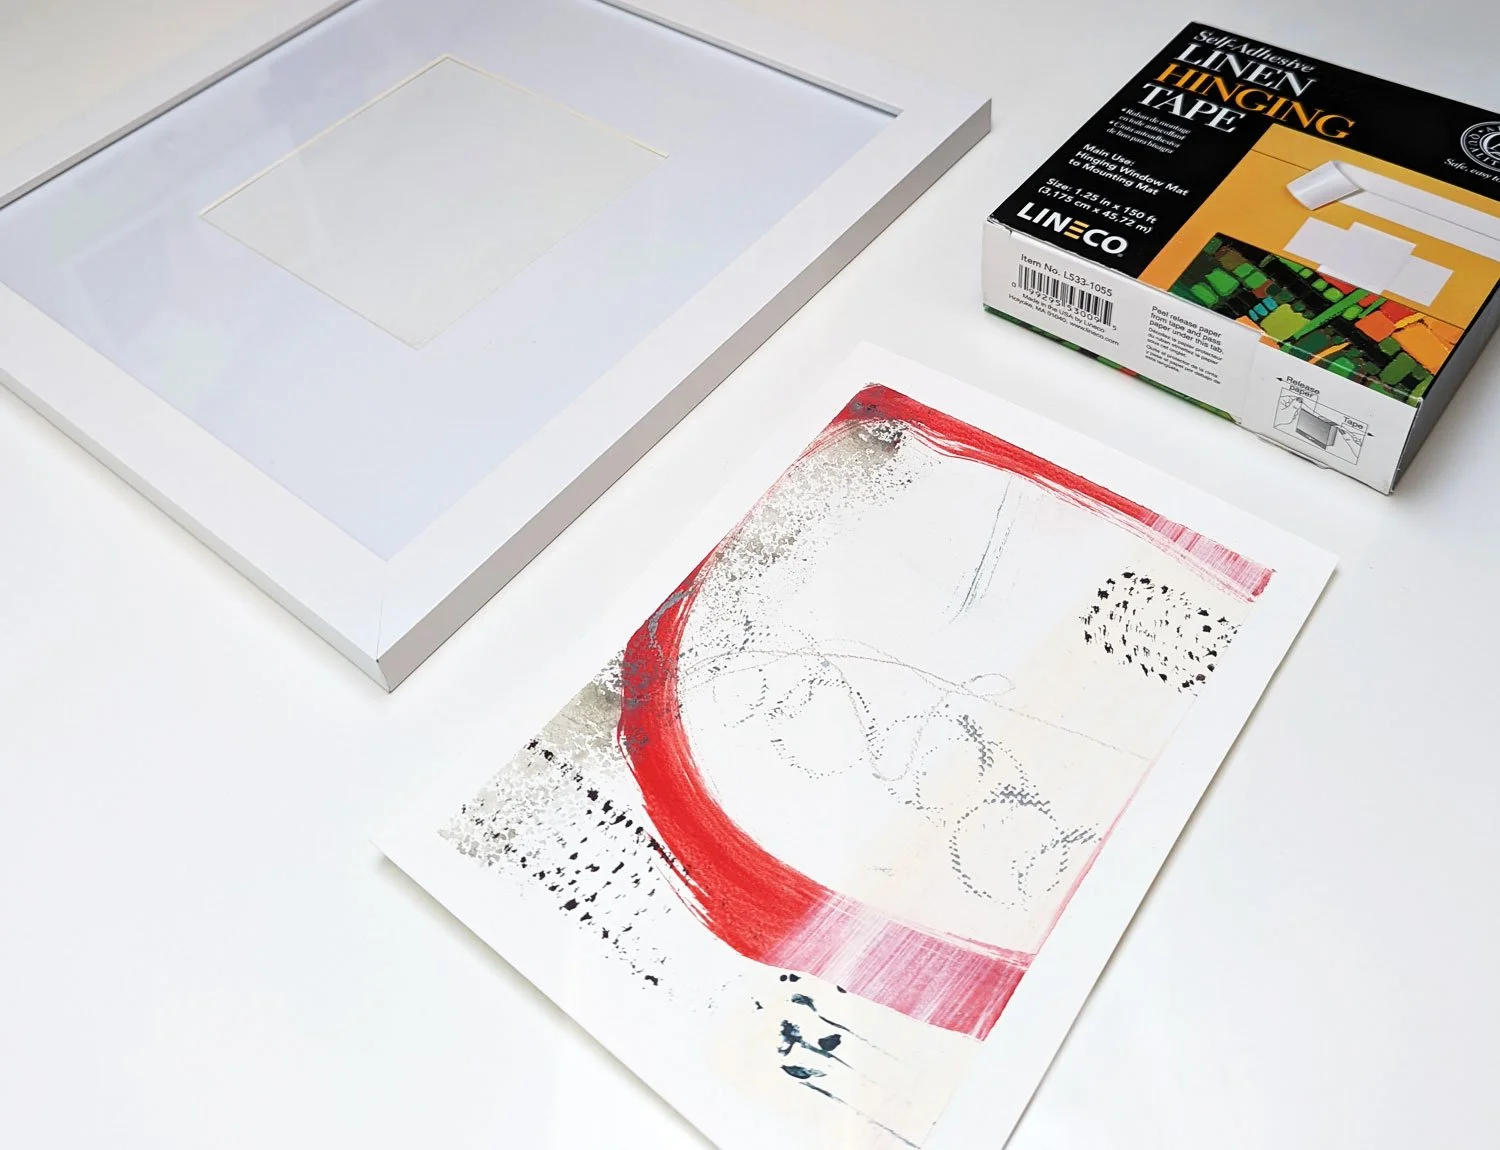
Artwork on paper (such as any of my originals)
Simple frame. I usually choose a white or natural wood color. I like these frames in natural oak or these in natural or white oak. They come in a variety of sizes and I’ve used them to frame everything from very small and quite large pieces. See below for more tips on frame choice.
The mat that came with your frame. If your frame didn’t come with a mat, you can buy ready-made mats like these. Or you can get a custom-cut mat at craft stores, frame shops, or through Matboard Plus. I usually prefer to go with a soft or off white mat, which will have more of a warm tone instead of pure white, which can have more of a cool/blue tone.
Self-adhesive linen hanging tape (acid free).
A note about frame choice . . . a thin birch or white frame is usually a safe bet and works well with most pieces. I usually choose a frame that is anywhere from 25% - 100% larger than my piece, depending on how wide you want the mat to be.
A small piece can look particularly nice placed off-center in a larger frame with the opening cut in the top ⅓ of the mat.
That said, in some cases, you may choose to have only a thin sliver of mat showing. That can look great too! For a gallery wall, I like to combine pieces that have varying widths of mat (and even some with no mat at all).
Now let’s move on to framing.
Sometimes the mat that comes with your frame will work just fine. That’s what I’m using in the tutorial here.
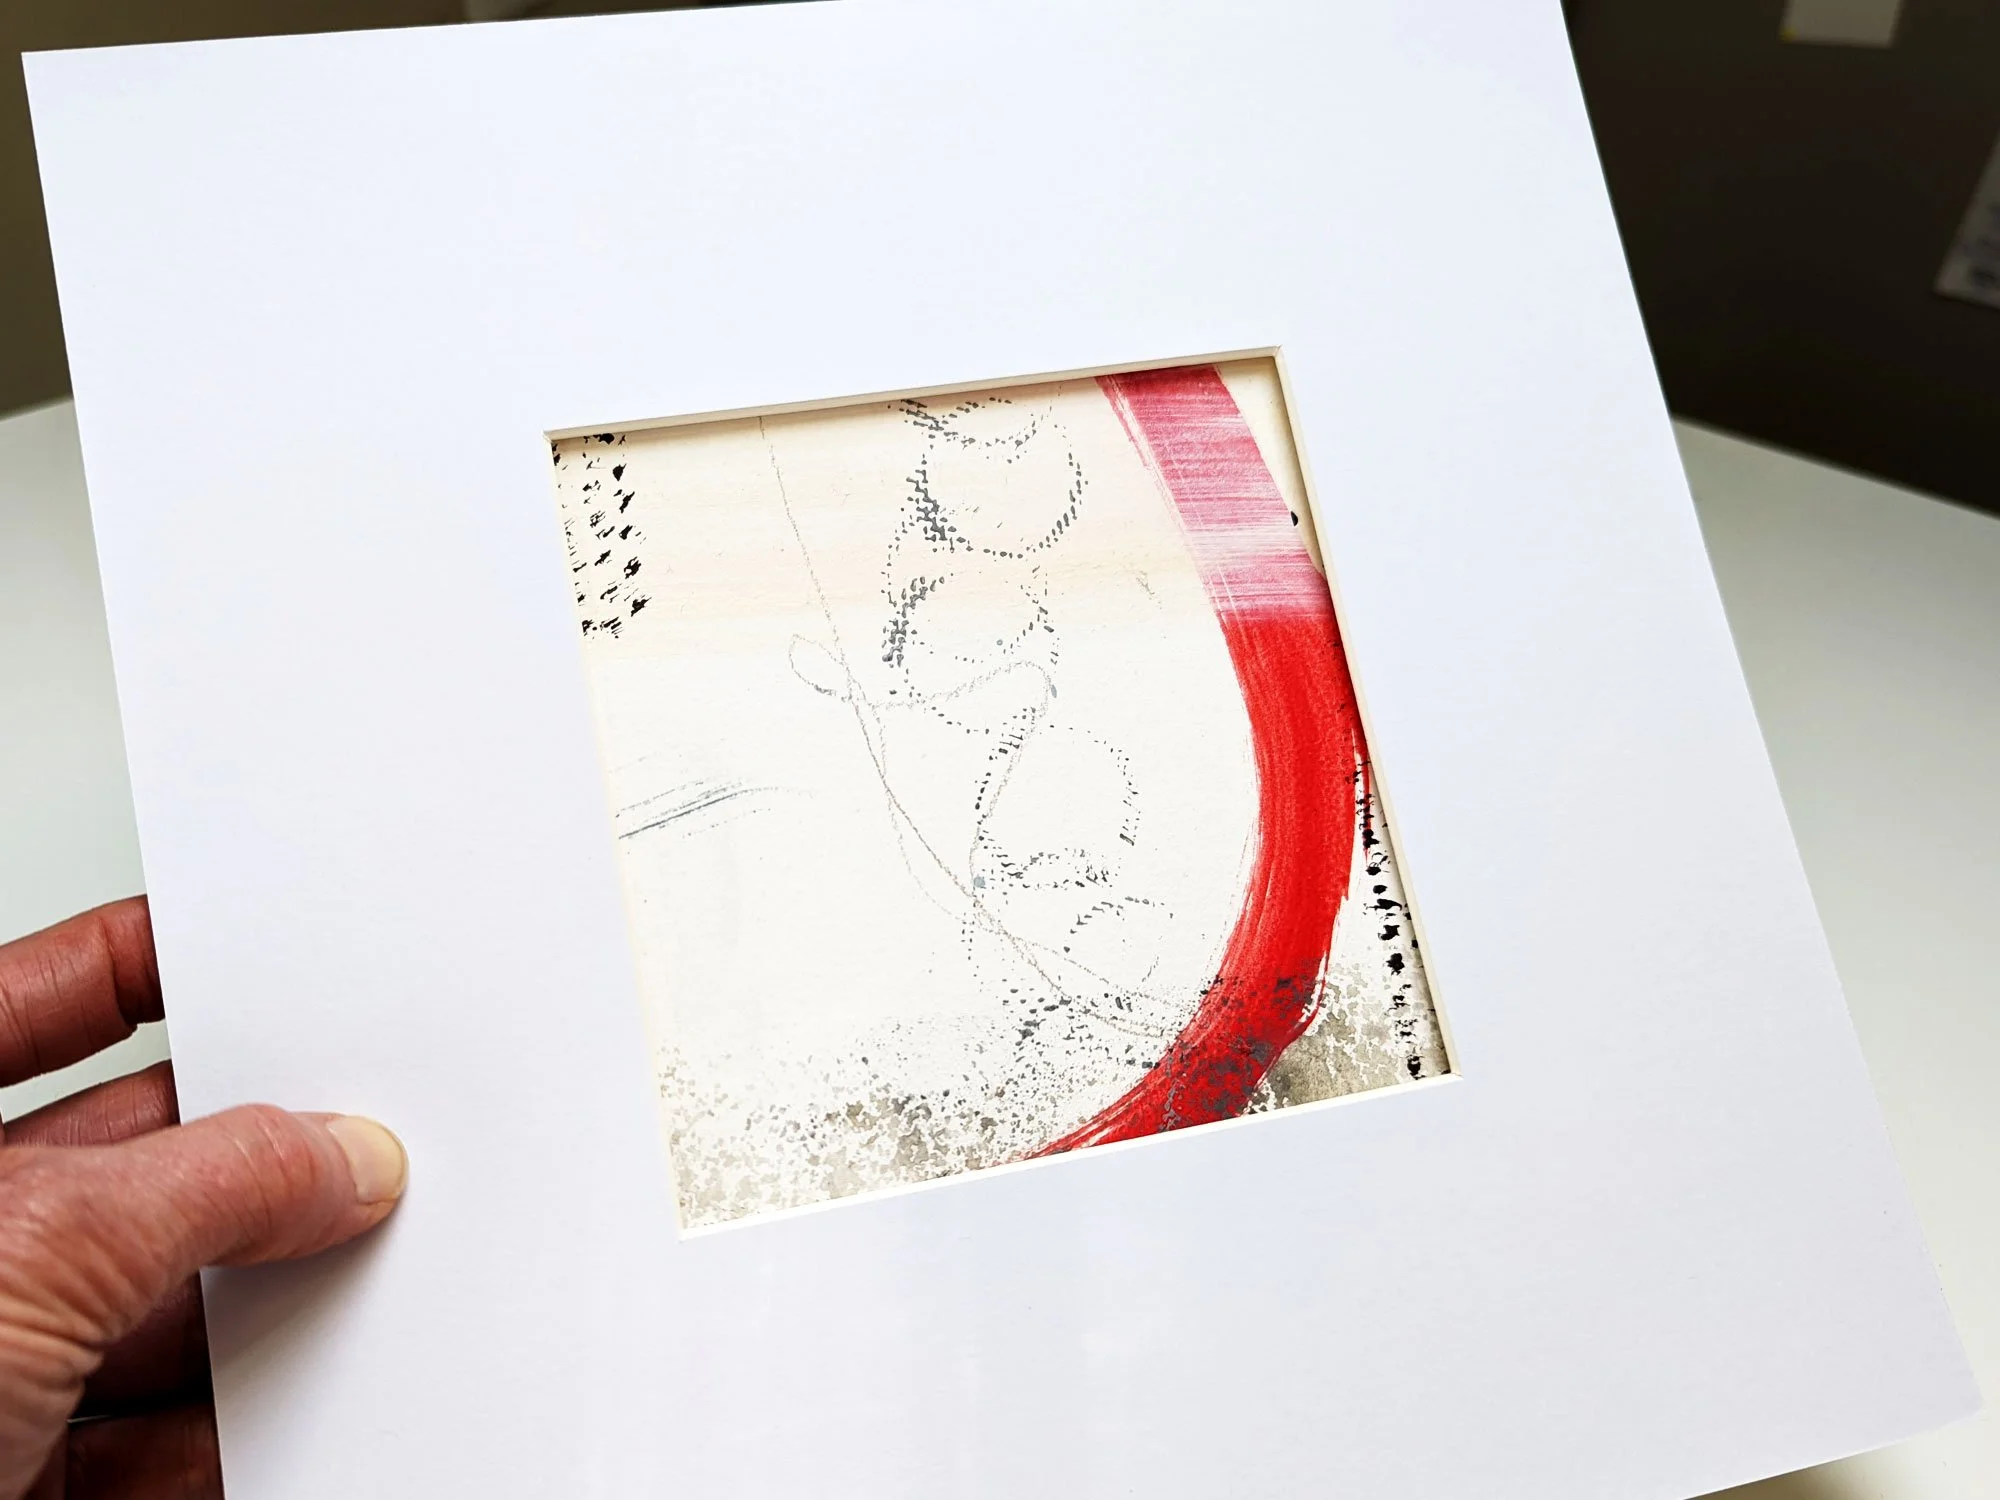
However, in some cases, you may need to get a mat custom cut to fit a specific frame or layout (such as an off-centered positioning). Most frame shops will cut a mat with an opening in your preferred size and location. Or you can order a custom-cut mat online from a place like Matboard Plus. For this tutorial, I used a 10” x 10” square frame with a 5” x 5” mat opening that I purchased on Amazon.
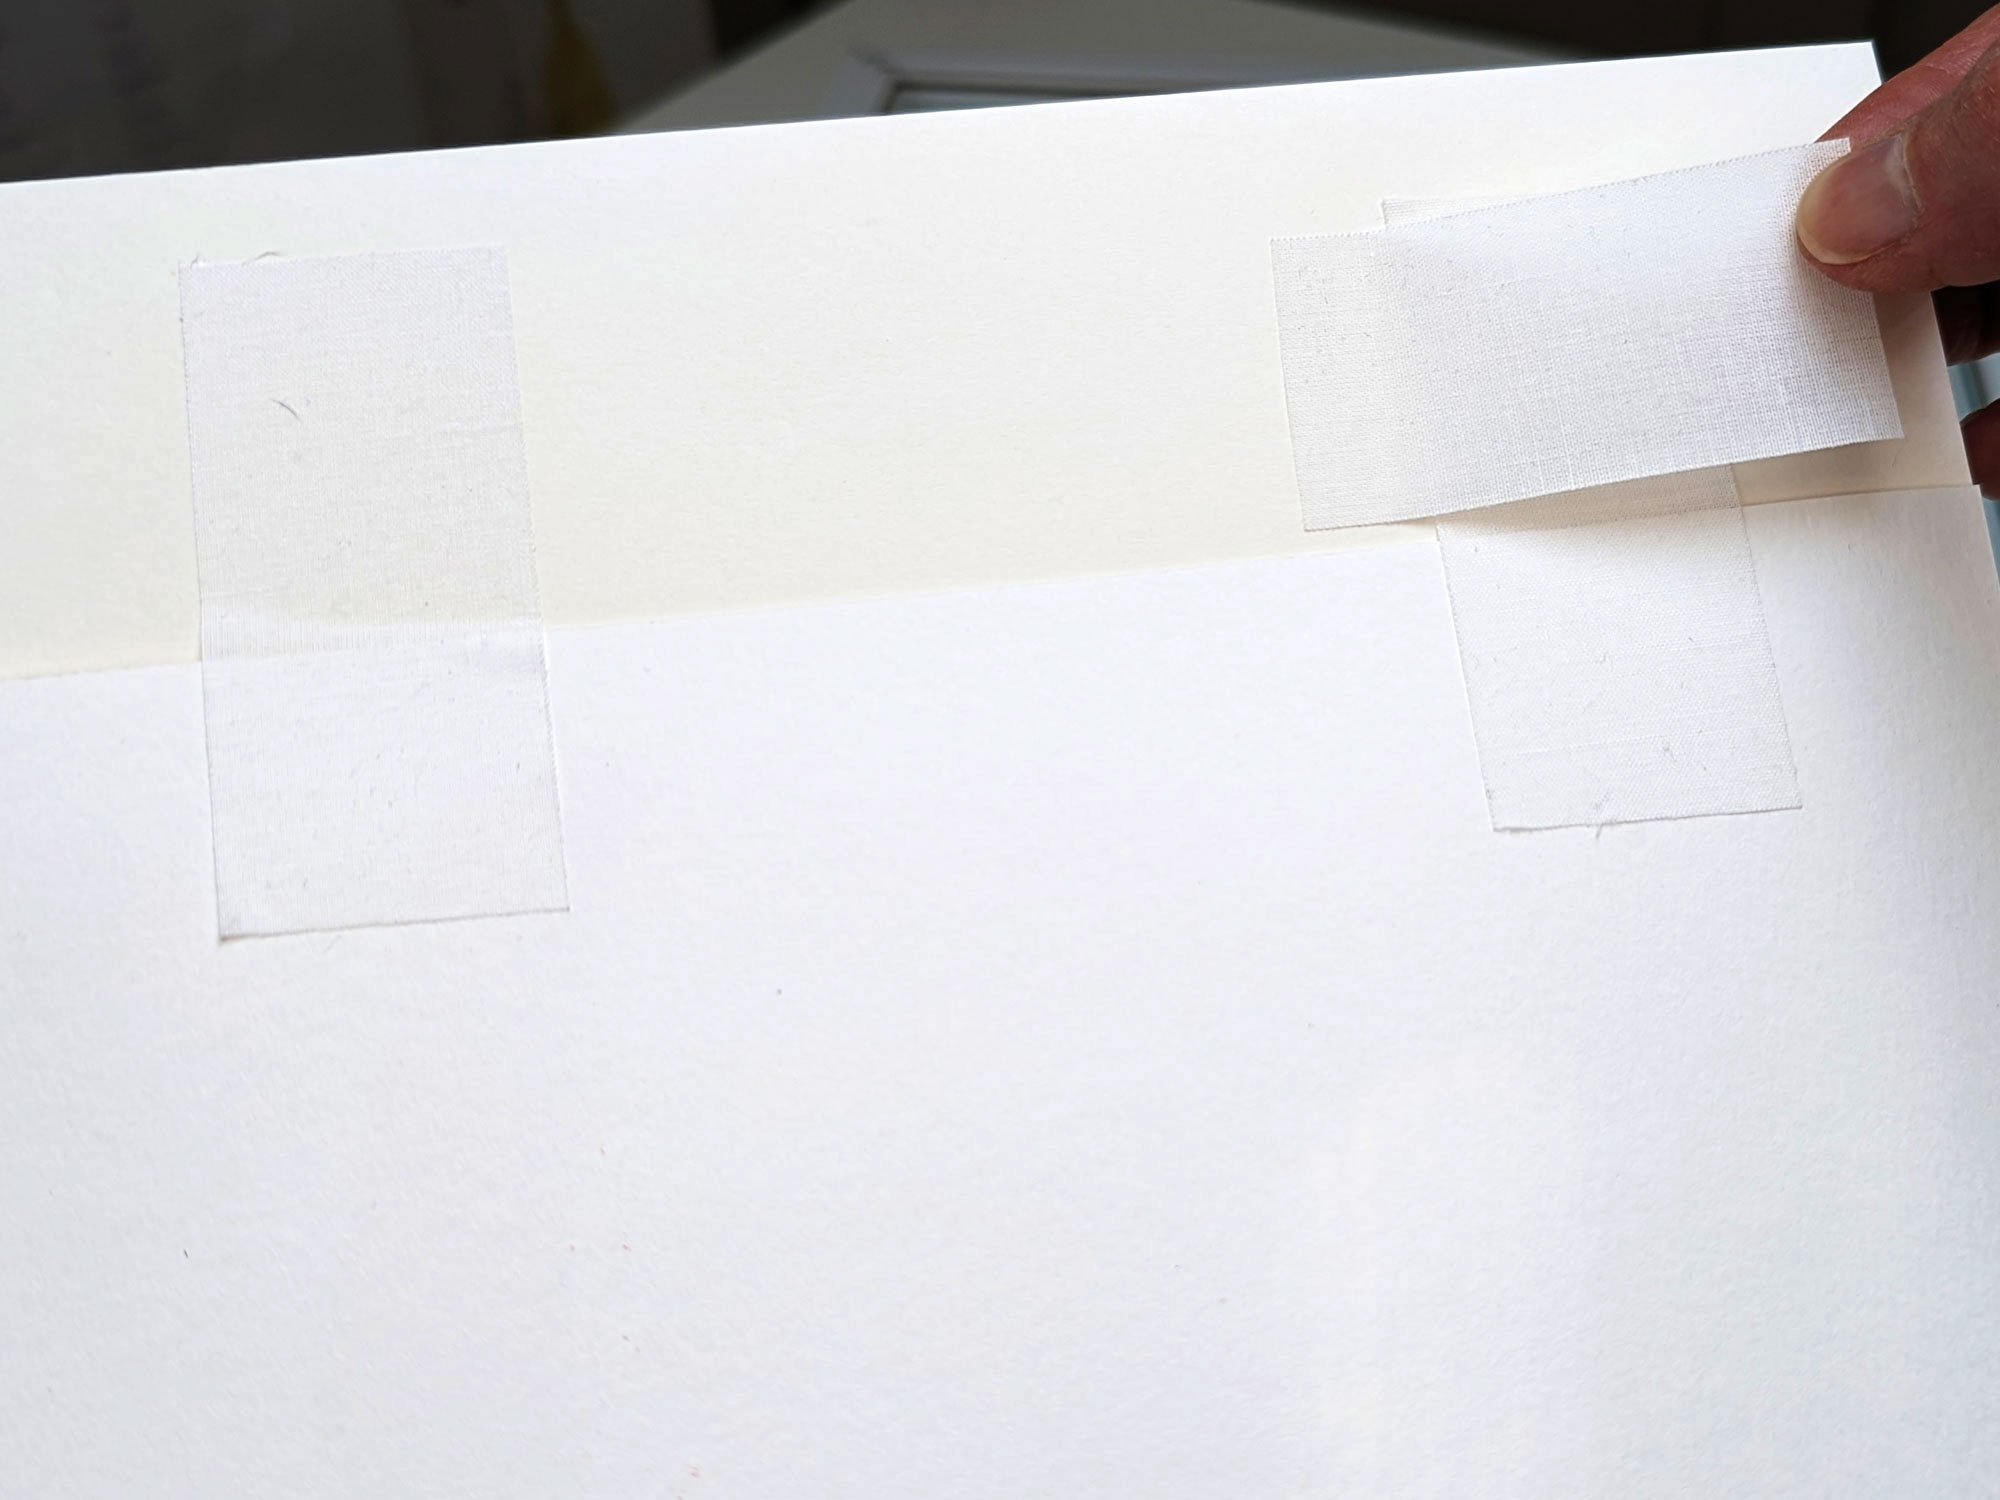
Next, cut two small pieces of linen hanging tape (about 1 ½” long each).
Carefully position the art where you want it in the mat opening. Holding the art and mat up to a window with the light shining through from behind can help you see if you have the piece centered. My piece of art is larger than the opening, but I don’t mind, as I just want to show a cropped portion of the piece.
Peel the backing off the tape and place one piece vertically, about 1 ½” in from one side of the art. About half the tape should be on the back of the art and the other half on the mat.
Do the same with the other piece of tape on the other side of the art. Now you should have two pieces of vertical tape at the top of your artwork, about 1 ½” from each edge.
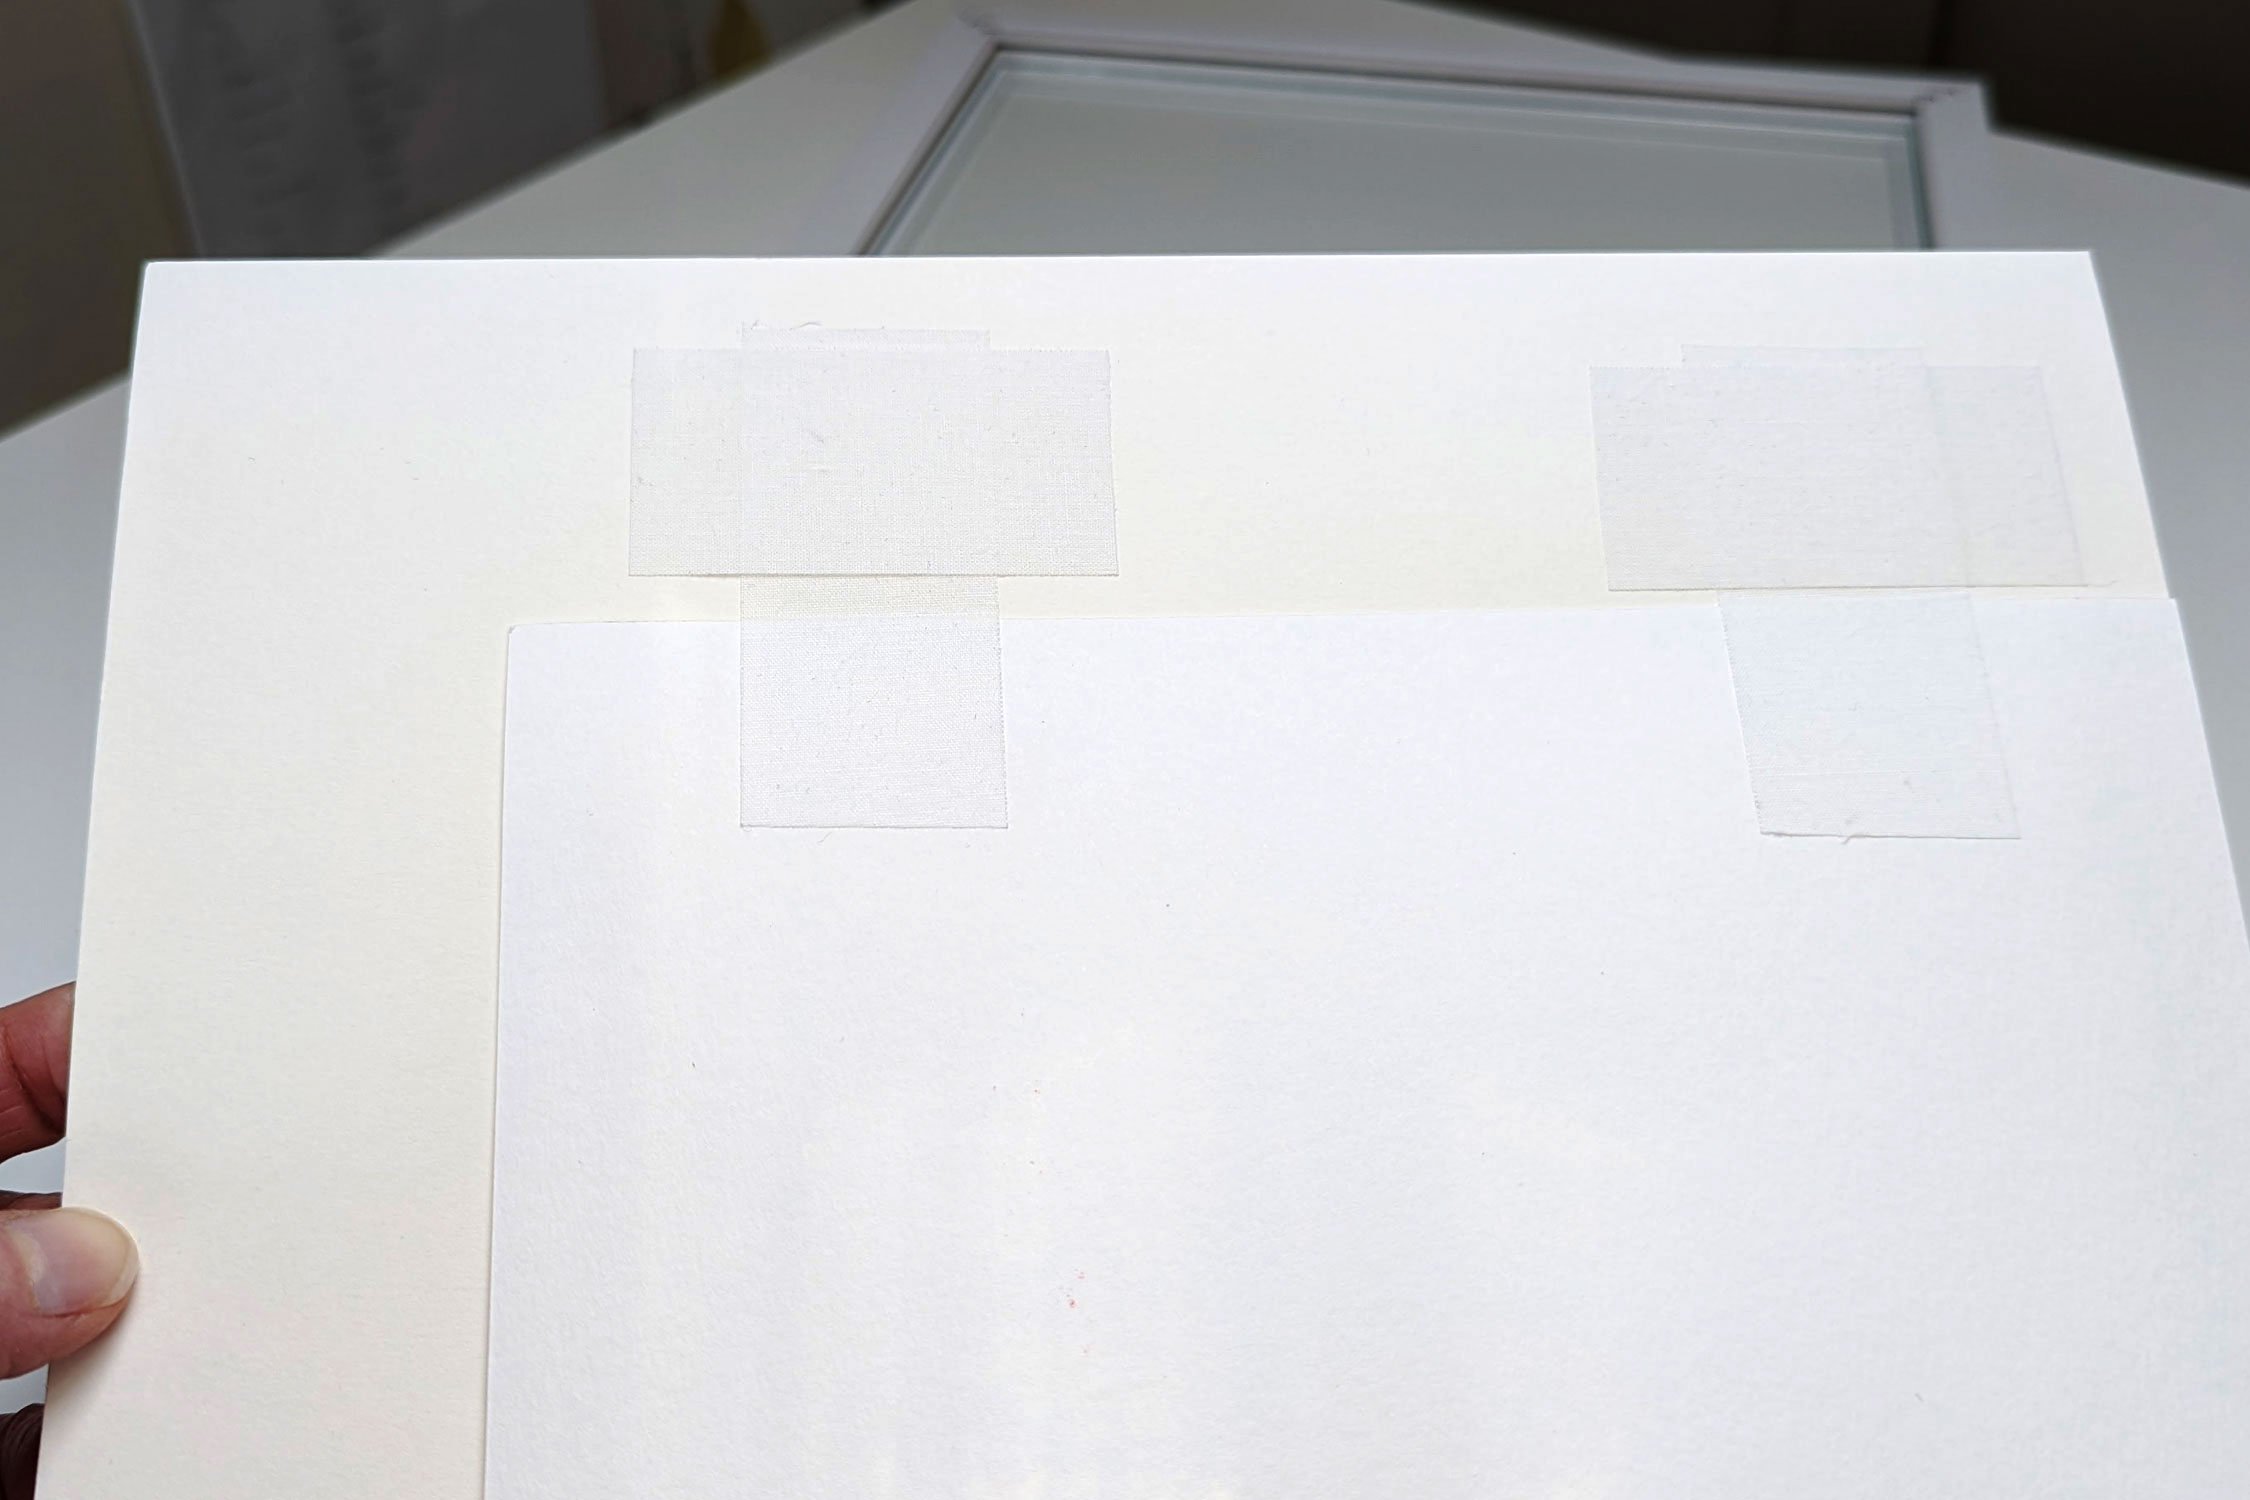
Cut two more pieces of tape the same size as the first two.
Place one piece of tape horizontally over the top of the vertical strip. This piece is only on the mat, not touching the art.
Do the same on the other side. Now you should have two “hinges” of tape that secure the art only at the top. Carefully “burnish” the tape with your finger to make sure it’s adhered well.
The key is to have as little tape touching the art as possible, while keeping it secure. There’s no need to tape the bottom, as it will be held in place with the backing board.
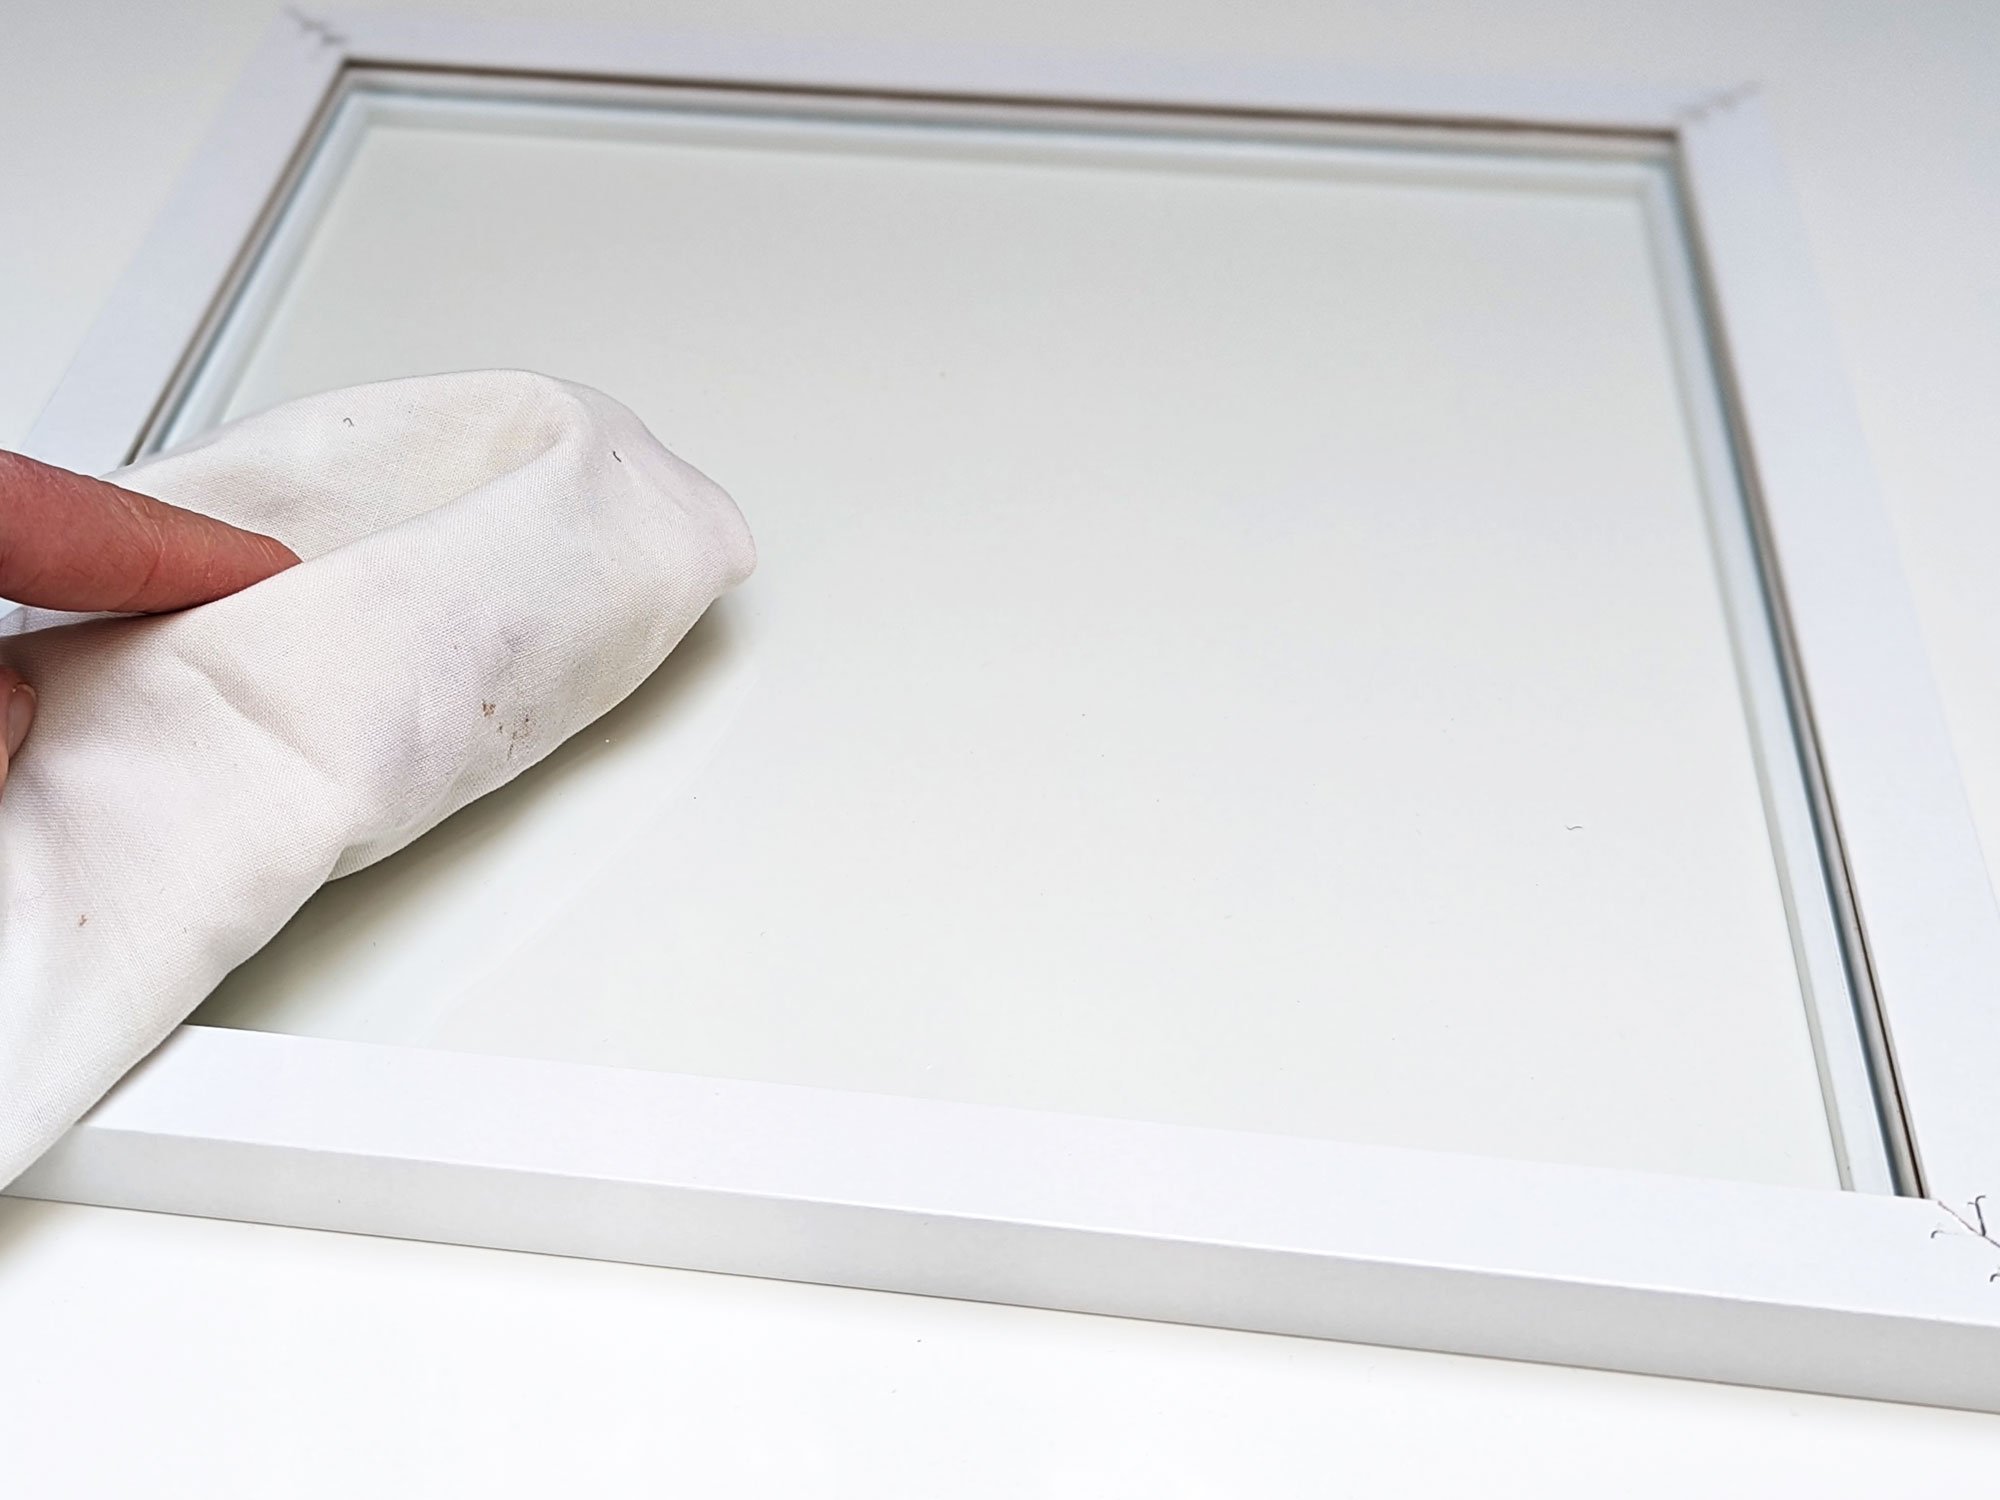
Once the art is securely taped to the mat, clean the glass or plexiglass to remove any dust or fingerprints.
Then pop the mat and backer into the frame, secure the tabs on the back, and you’re done!
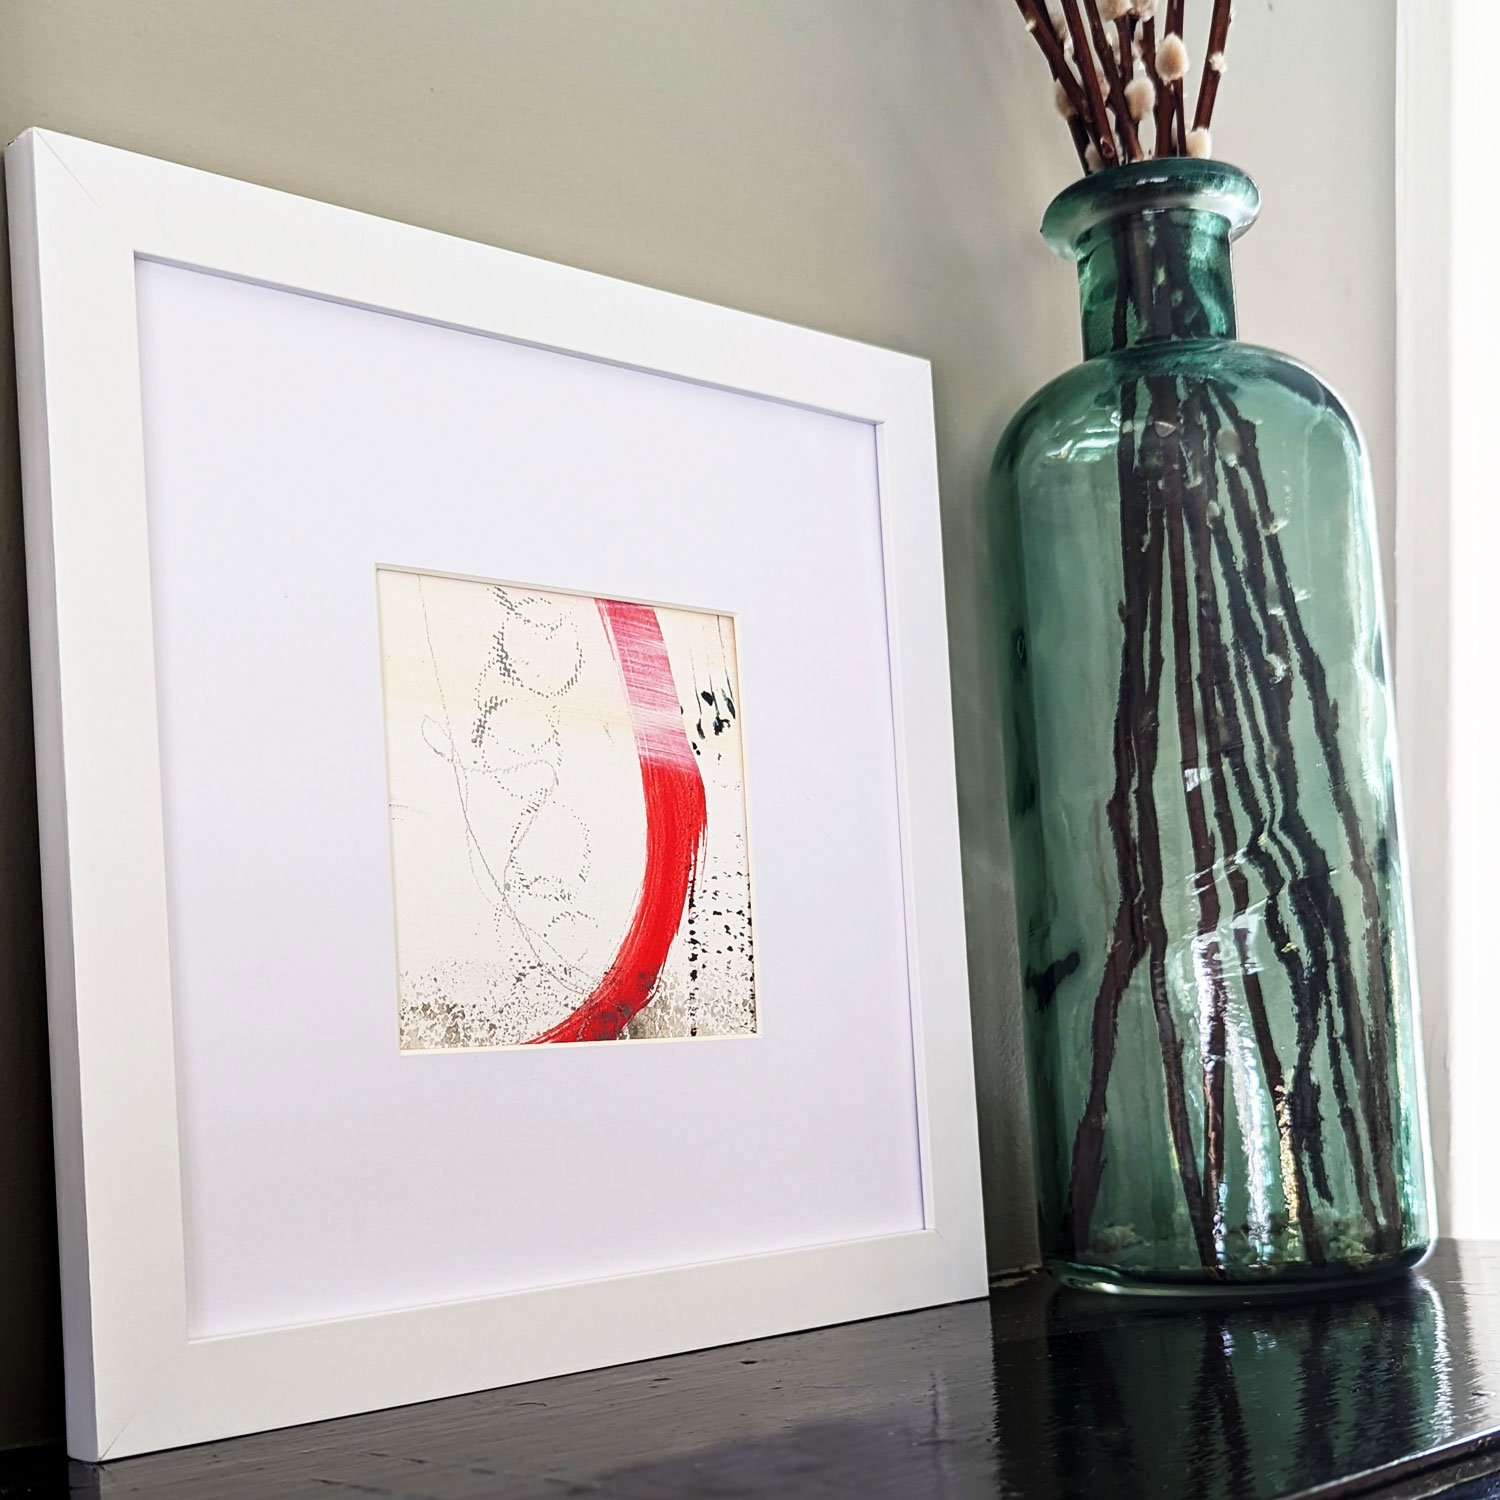
Now you have a beautifully framed piece of art for your home. If you’ve framed a piece of mine, please tag @lauriebaars on Instagram, so I can see and share it!